1. Ensure that your server has a standard hostname (FQDN or Fully Qualified Domain Name), otherwise set it as follows (in this example, cpanel is the hostname and tecmint.lan is the domain name):
3. You do not have to run any commands to install it, there is an auto installer script built for you. All you have to do is download the cPanel installer script with the cURL command, if you don’t have the cURL command installed, first install it like so.
4. Then download the latest installer script to home directory.
5. Now, run the auto installer script. Note that if you have logged in the server using SSH, we strongly recommend running cPanel auto installer script in screen mode, because it takes 40-60 mins to complete the installation depending on your server resources and Internet connection speeds.
Sample Output
At this point, sit back and relax, perhaps, you can grab yourself a cup of coffee as you wait for the cPanel installer script to complete the installation.
When the installation completes, you’ll view the output below. You may be asked to reboot the server after installation.
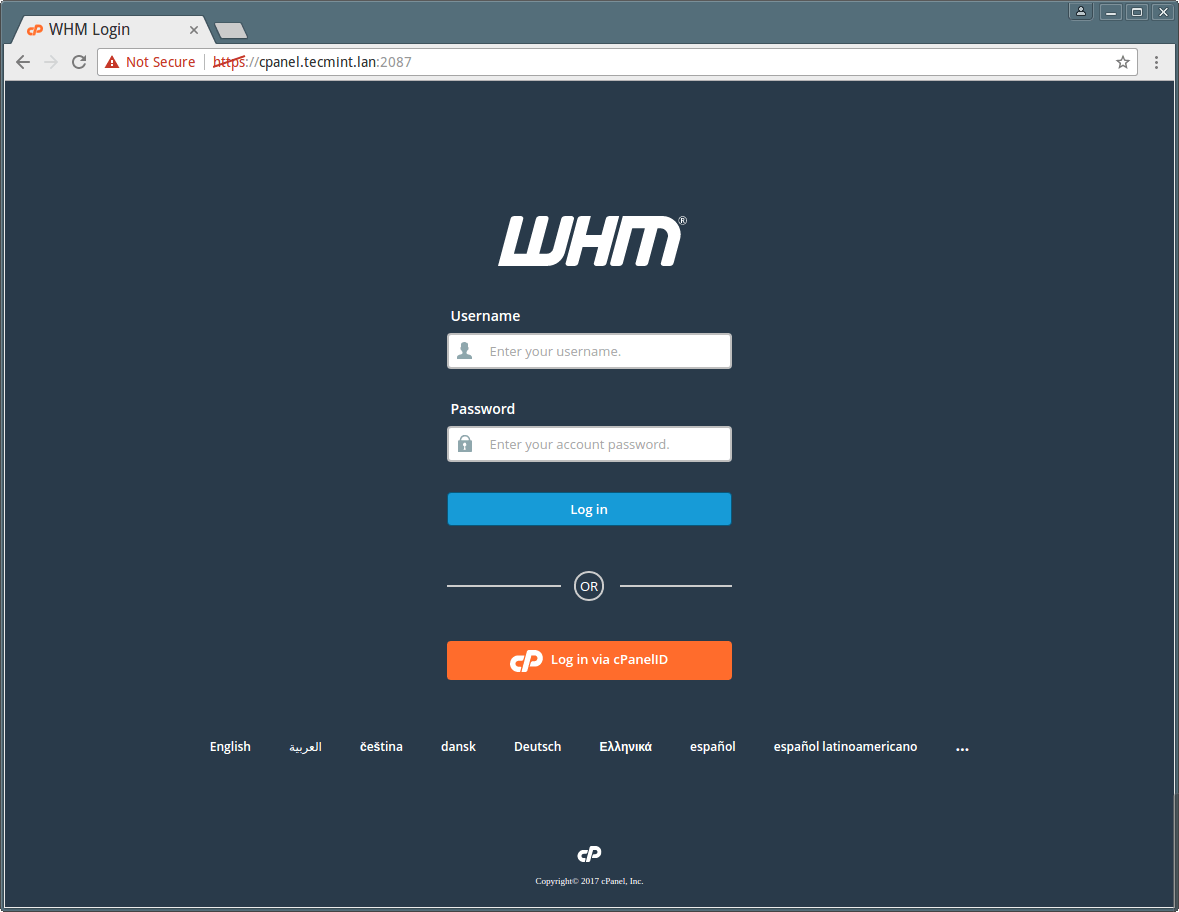
6. After that you need to complete the installation wizard from its web based interface and you can access WHM with the following URL:
Now login with user “root” and your password. There are some more clicks remaining to complete the cPanel installation.
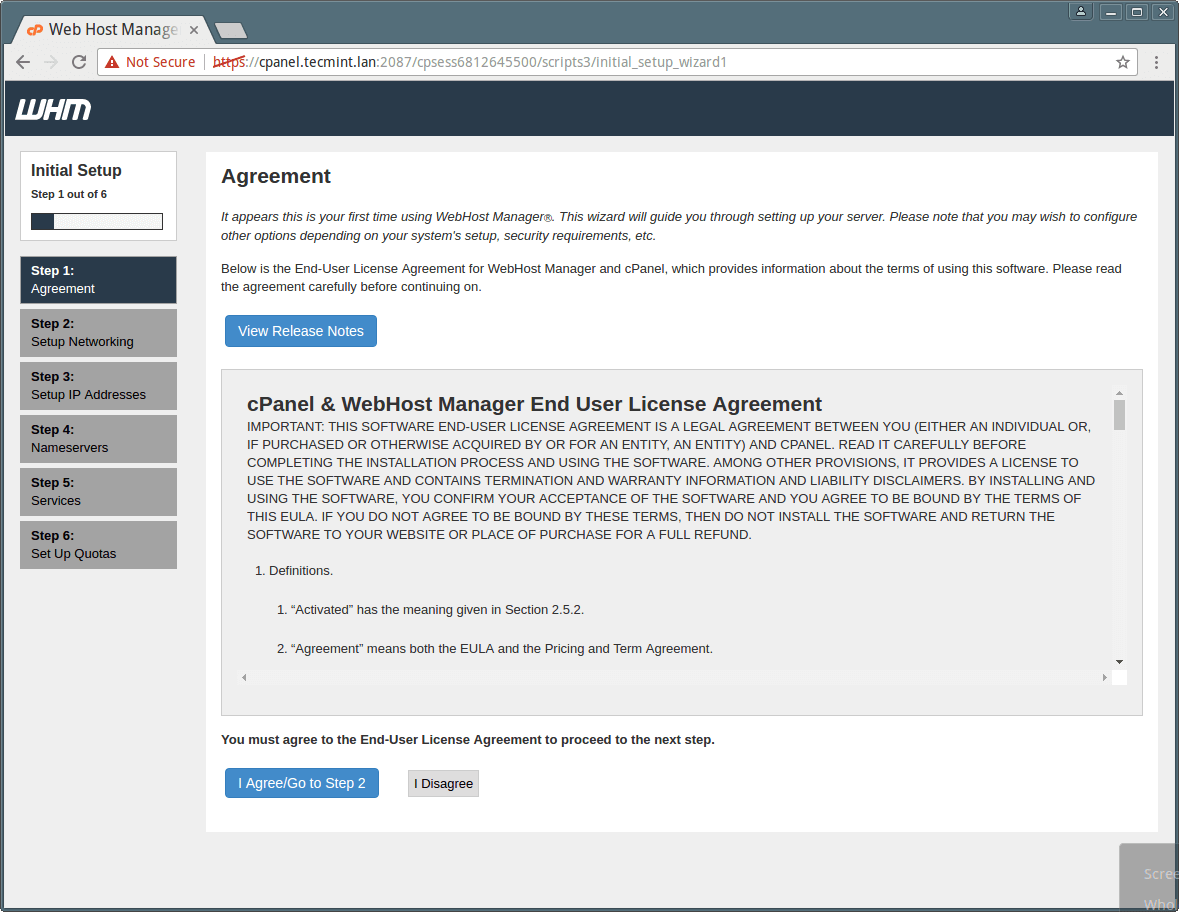
7. Next, read the End User License Agreement and accept the terms by clicking on “I Agree?/Go Step 2” button to proceed.
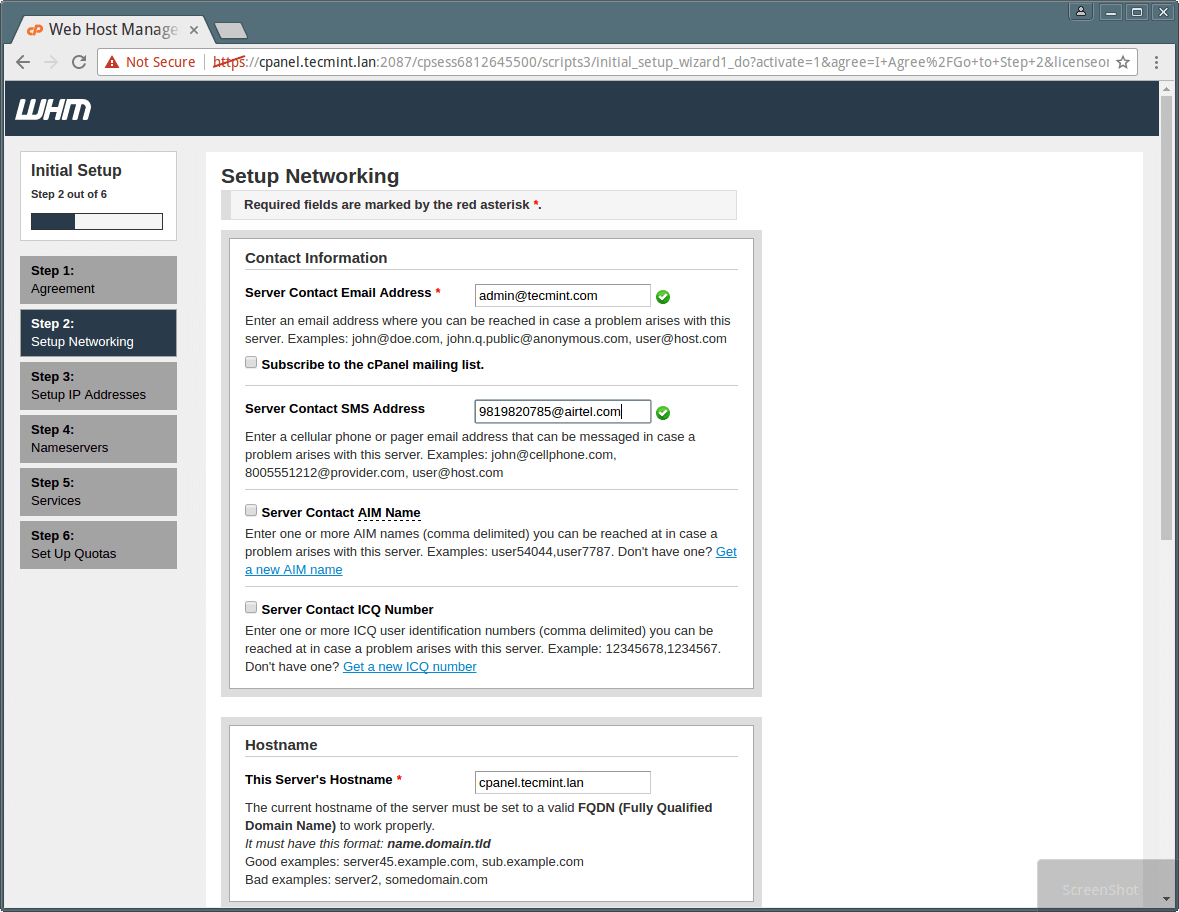
8. Then you’ll move to the Setup Networking section, provide your working email address and contact SMS address in the column of “Server Contact Email Address” and “Server contact SMS address” respectively.
This will enable cPanel to send all important alerts, notification to this EMail-id (Recommended). You can fill the rest details as well, as required.
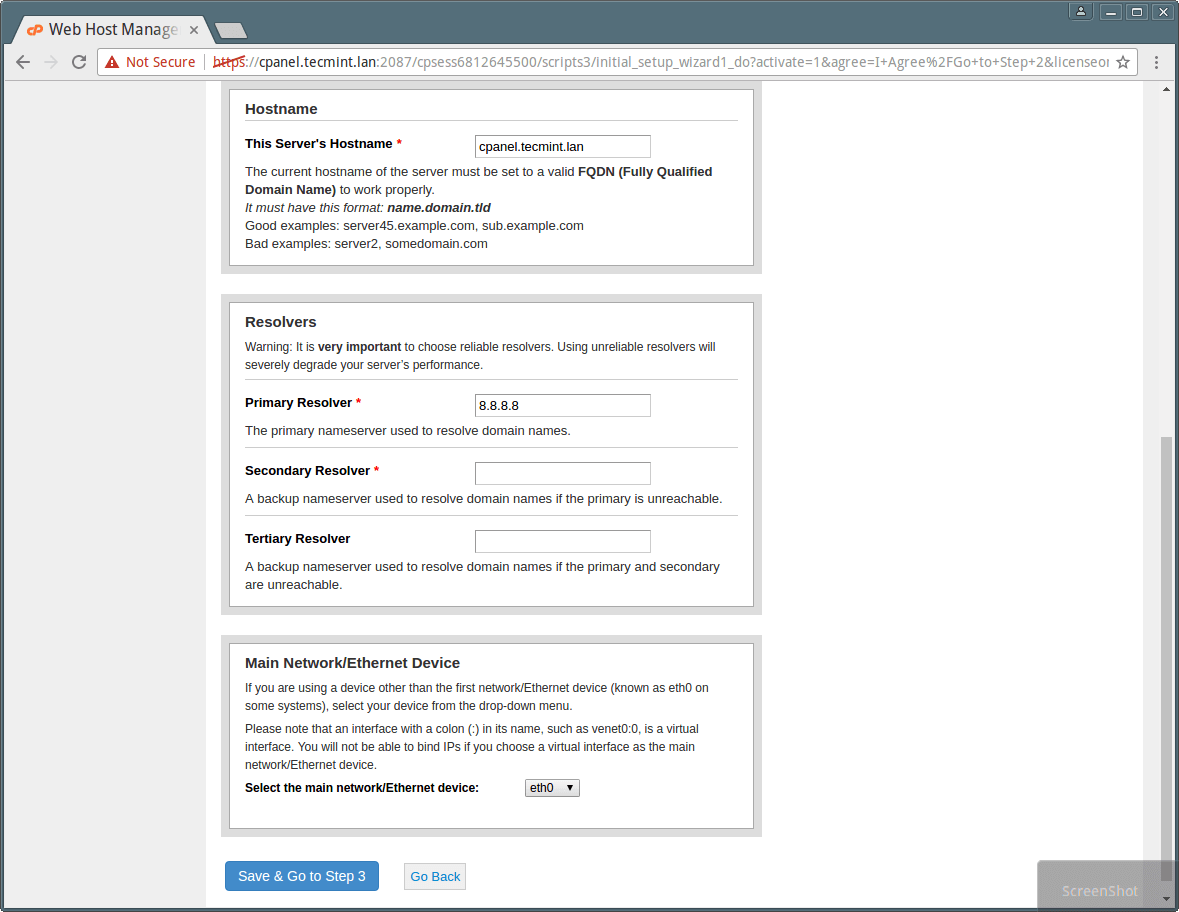
9. Next, move to the Hostname section, enter a valid FQDN hostname and Resolver entries for your server in the Networking section as shown in the screenshot below.
You can use Google resolvers in this section if you don’t have your ISP’s resolvers.
10. Afterwards, proceed to select the Main Network/Ethernet Device, an IP available on that device will be considered as the main IP address of your server. And click on “Save & Go to Step 5” button.
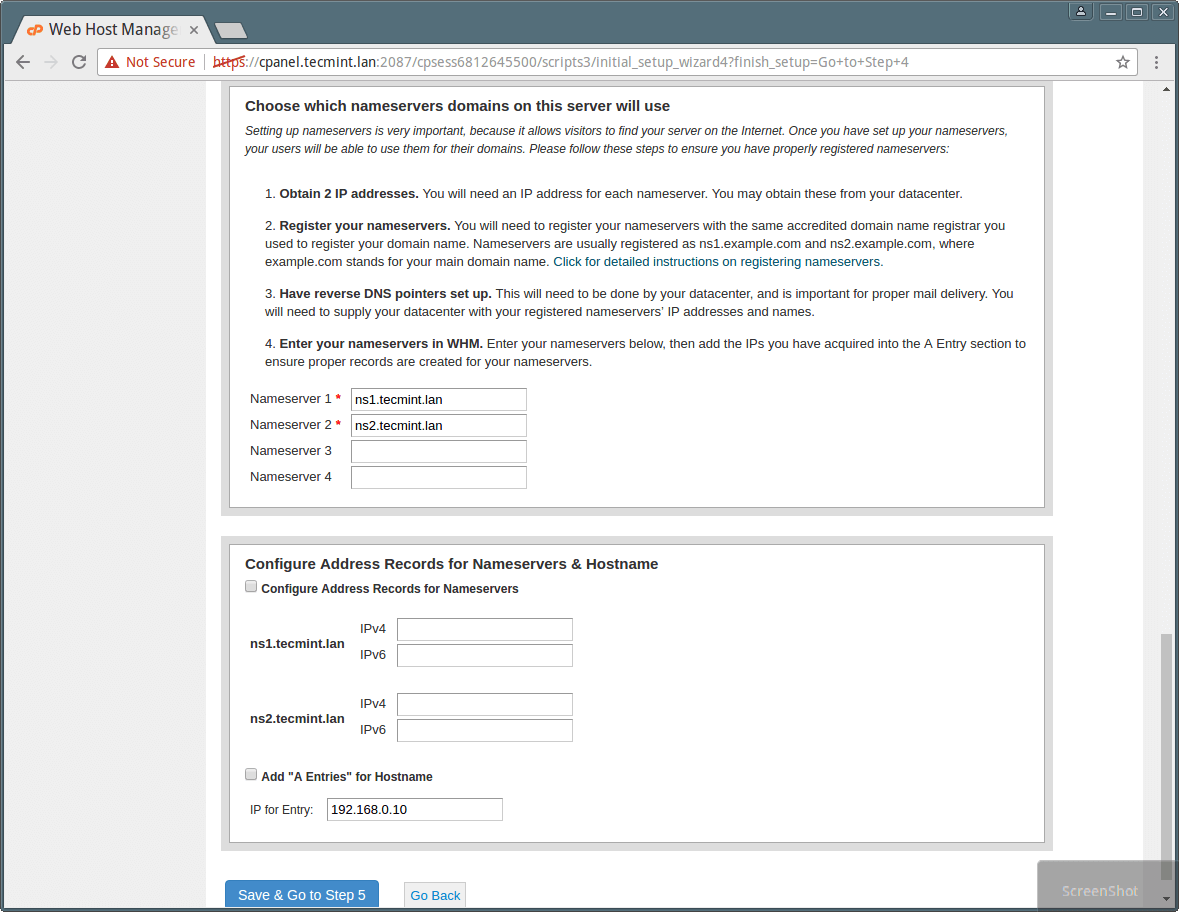
11. Now set your servers static IP address. If you have more than one IP attached with your NIC card and you want to set up a specific IP for your Server’s main IP, you can do that from here, to do so please choose the IP from the drop down and click on “Go to Setup 4”.
Next, add the “A Entries” for Nameservers & Hostname your server will use. Add Nameservers for your want to use in the empty fields: ns1/ns2.example.com.
In addition, add an entry for your hostname and nameserver by selecting the check box, as shown in the screenshot below. Then click on “Save & Go to Step 5” button.
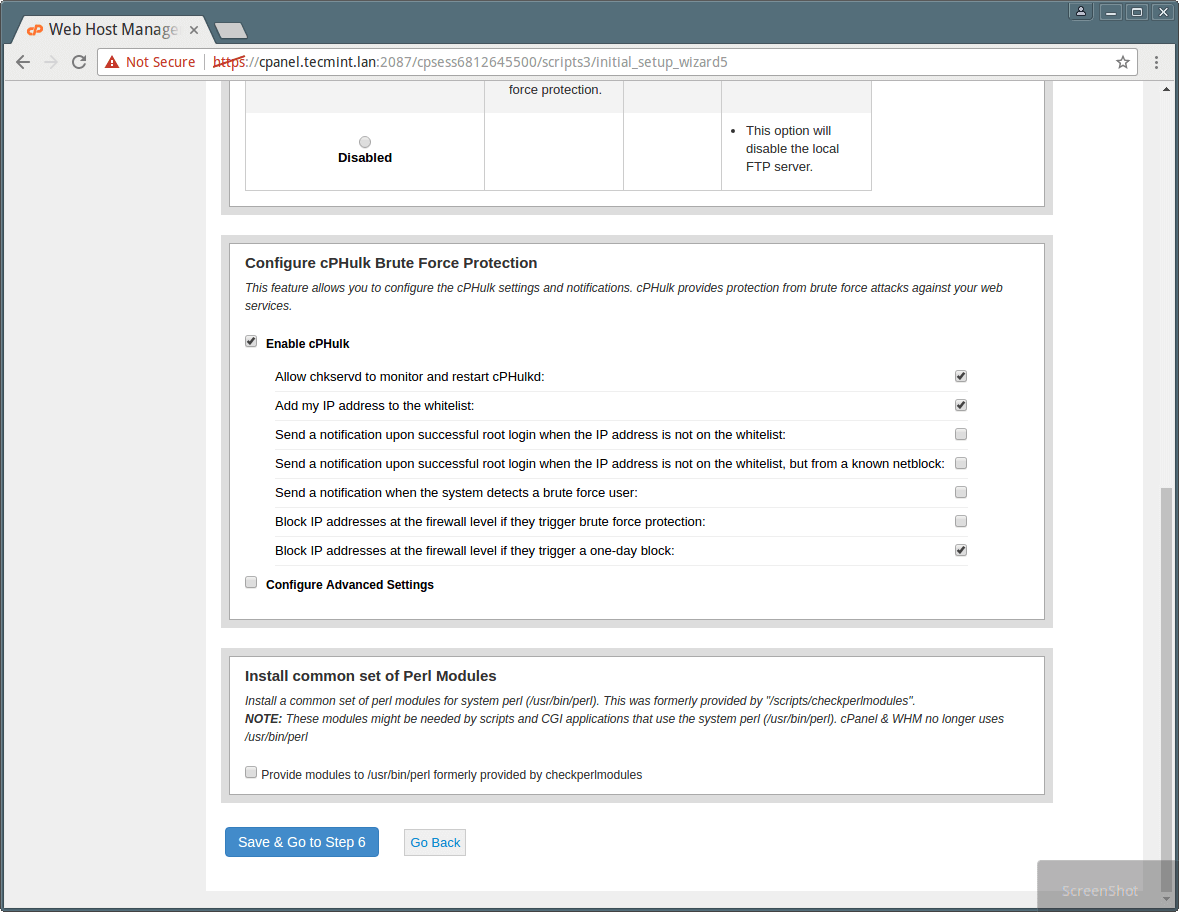
12. Now, configure different services like FTP, Mail and Cphulk in the Step 5, of this web based wizard.
In FTP configuration, there are two FTP applications, select the one you want to use, but Pure-FTPD is recommended. Choose the disabled option if you want to disable the local FTP server.

In the same wizard, you can select your Mail server to be used for all your mailing activities in future. You can add MTAs like Exim with your cPanel in future. You can either choose Dovecot which is also recommended or you can choose to disable mail server by choosing disabled option.
13. Move on to set Cphulk brute force protection which detects and blocks false password attacks activities and block their IP for your server. You can enable/disable and configure it as shown in the screenshot below.
14. Lastly in Step 6, you can enable quotas which helps you to track down the disk space usages. Select “Use file system quotas” and click on “Finish setup wizard” to complete the Installation process.

Note: If you don’t use file system quotas then you will not be able to monitor the amount of disk space used by any user or website.
Now you can see some new features of cPanel in its Feature Showcase. In recommended features you will see cPanelID, which enables a user to login to cPanel with his/her cPanelID. This feature enables a user to login to multiple cPanels with single user id. You can enable this feature by choosing the enable option, otherwise disable it by choosing No, thank you.
Once you are done with Installation, WHM’s home page will Appear as shown in the screenshot below. You can see that Home page of WHM is displaying all Control panel option and sidebar with search facility which enables you to search options by just typing their names.

Important: Sometimes, cPanel installer script is not able to update the licence because of firewall or resolvers entries and you’ll see trial warning in the page. You can do it manually with following command.